· Antony0101 · Raspberry Pi Pico Task Scheduler · 3 min read
Experimenting with Raspberry Pi Pico Basic Setup (Part 2)
Setting up build tools and run a basic blinky example.
Introduction
This is second post in the series of creating simple task scheduler for raspberry pi pico. In this post we will setup the build tools and start with the simple blinky example. The steps are same as other tutorials and we will be following the official documentation to setup the build tools.
About Blinky Example
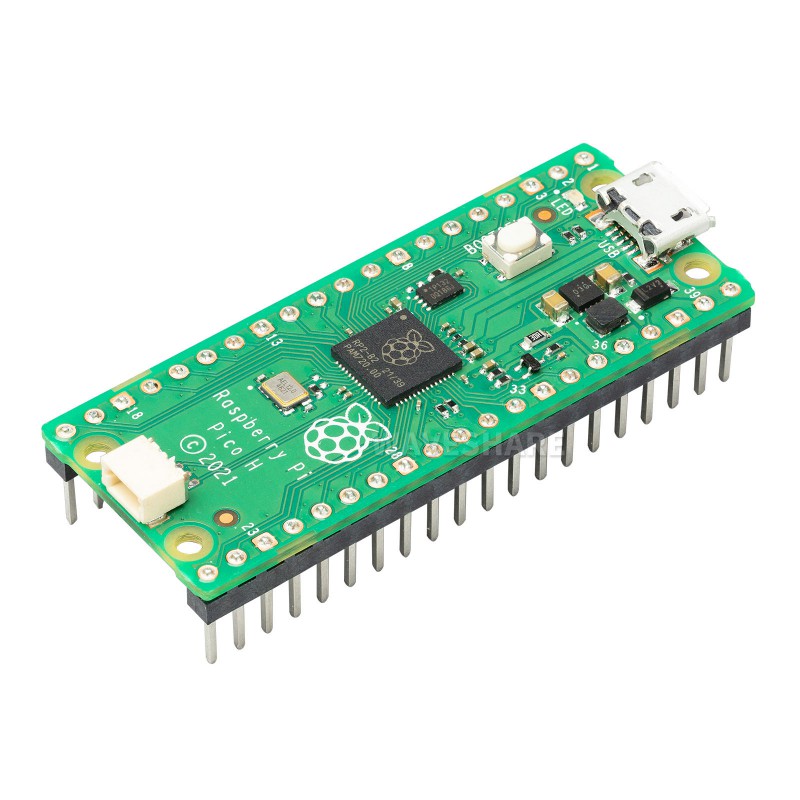
The blinky example is the simplest example to start with. It is a simple program that blinks the LED on the board. The LED is connected to GPIO pin 25 on the board. The program will turn the LED on and off in a loop. It is a good starting point to understand the basic concepts of programming the board.
Setting up the build tools
The official documentation provides the steps to setup the build tools. We will follow the steps to setup the build tools. Steps I am following are for linux. For other systems follow the official documentation.
The steps are:
- Install CMake (at least version 3.13), python 3, a native compiler, and a GCC cross compiler
sudo apt install cmake python3 build-essential gcc-arm-none-eabi libnewlib-arm-none-eabi libstdc++-arm-none-eabi-newlib
- Clone the pico-sdk repository from GitHub. This repository contains the SDK for the Raspberry Pi Pico. Also note the location of the SDK as we will need it later.
git clone https://github.com/raspberrypi/pico-sdk.git
- Set the PICO_SDK_PATH environment variable to the location of the SDK. You can do this by adding the following line to your .bashrc file. Also if you didn’t set environment variable then you need provide sdk path in the when you run cmake command.
export PICO_SDK_PATH=/path/to/pico-sdk
Create a new directory for your project and copy pico_sdk_import.cmake (pico-sdk/external/pico_sdk_import.cmake) from the SDK into your project directory.
Create a CMakeLists.txt file in it. The CMakeLists.txt file should look like this:
cmake_minimum_required(VERSION 3.13...3.27)

include(pico_sdk_import.cmake)

project(blinky_project)

pico_sdk_init()

add_executable(blinky
  blinky.c
)

target_link_libraries(blinky pico_stdlib)

pico_add_extra_outputs(blinky)
Here blinky is the name of the project and blinky.c is the name of the source file.
- Create a blinky.c file in the same directory with the following content:
#include "pico/stdlib.h"

const uint LED_PIN = 25;

int main() {

    gpio_init(LED_PIN);
    gpio_set_dir(LED_PIN, GPIO_OUT);
    while (1) {
        gpio_put(LED_PIN, 0);
        sleep_ms(1000);
        gpio_put(LED_PIN, 1);
        sleep_ms(1000);
    }
}
- Run the following commands to build the project:
mkdir build
cd build
cmake ..
make
- Connect the Raspberry Pi Pico to your computer and copy the blinky.uf2 file from the build directory to the Raspberry Pi Pico. The LED on the board should start blinking.
Also i have created a bash file for automating the above steps. You can find the bash file here. It is not a good script as it clones the pico-sdk in every project. But it is good for reference.
Conclusion
In this post we setup the build tools and created a simple blinky example. In the next post we will create the blinky example without using the standard libraries.